How to play Blue Lightning on Mac
Game summary
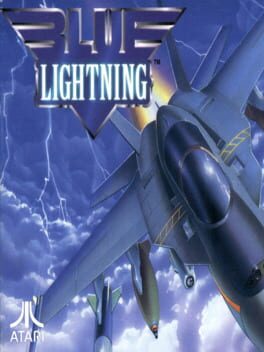
Blue Lightning is a combat flight simulation video game developed by Attention to Detail and published by Atari Corporation exclusively for the Atari Jaguar CD on September 21, 1995. It is a remake of Epyx's 1989 Atari Lynx title of the same name and was, alongside Vid Grid, one of the pack-in games for the peripheral when it launched.
Assuming the role of a rookie aircraft pilot from the Blue Lightning squadron, players take control of multiple military aircraft on various missions in order to stop General Drako, who betrayed the United Nations and slowly gained control of many armed forces through corruption to expand his organized crime empire on all over the world. Originally advertised as a sequel to the Atari Lynx original, Blue Lightning had a troubled development cycle and went through various changes before release.
Similarly with Cybermorph, an early game for the Jaguar created by its main developer, Blue Lightning received divisive reviews when it launched. While it received praise for its soundtrack, many reviewers felt divided in regards to the gameplay and graphics. Critics also compared the game with both the original Lynx game and After Burner, which received a conversion for the Sega 32X months prior.
First released: Sep 1995
Play Blue Lightning on Mac with Parallels (virtualized)
The easiest way to play Blue Lightning on a Mac is through Parallels, which allows you to virtualize a Windows machine on Macs. The setup is very easy and it works for Apple Silicon Macs as well as for older Intel-based Macs.
Parallels supports the latest version of DirectX and OpenGL, allowing you to play the latest PC games on any Mac. The latest version of DirectX is up to 20% faster.
Our favorite feature of Parallels Desktop is that when you turn off your virtual machine, all the unused disk space gets returned to your main OS, thus minimizing resource waste (which used to be a problem with virtualization).
Blue Lightning installation steps for Mac
Step 1
Go to Parallels.com and download the latest version of the software.
Step 2
Follow the installation process and make sure you allow Parallels in your Mac’s security preferences (it will prompt you to do so).
Step 3
When prompted, download and install Windows 10. The download is around 5.7GB. Make sure you give it all the permissions that it asks for.
Step 4
Once Windows is done installing, you are ready to go. All that’s left to do is install Blue Lightning like you would on any PC.
Did it work?
Help us improve our guide by letting us know if it worked for you.
👎👍