How to play Star Voyager on Mac

Game summary
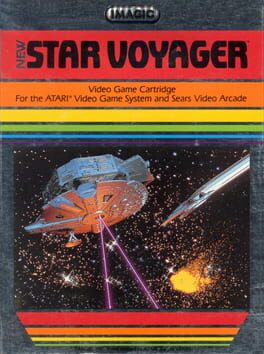
Star Voyager is an outer space shooter for the NES. It was originally developed in Japan by ASCII Entertainment, and released as Cosmo Genesis at the very end of 1986. Acclaim picked up the rights to release the game in the United States and changed the title.
The gameplay is heavily based on Atari's original Star Raiders concept. Another Famicom game built on this concept is Namco's Star Luster, which many players regard as the better quality game out of the two. Star Voyager is a first-person shooter from inside the cockpit of a spaceship. The player navigates through different quadrants contained in a galactic map. Different sections of the ship can sustain damage, but this damage can be repaired by visiting a space station.
First released: Dec 1986
Play Star Voyager on Mac with Parallels (virtualized)
The easiest way to play Star Voyager on a Mac is through Parallels, which allows you to virtualize a Windows machine on Macs. The setup is very easy and it works for Apple Silicon Macs as well as for older Intel-based Macs.
Parallels supports the latest version of DirectX and OpenGL, allowing you to play the latest PC games on any Mac. The latest version of DirectX is up to 20% faster.
Our favorite feature of Parallels Desktop is that when you turn off your virtual machine, all the unused disk space gets returned to your main OS, thus minimizing resource waste (which used to be a problem with virtualization).
Star Voyager installation steps for Mac
Step 1
Go to Parallels.com and download the latest version of the software.
Step 2
Follow the installation process and make sure you allow Parallels in your Mac’s security preferences (it will prompt you to do so).
Step 3
When prompted, download and install Windows 10. The download is around 5.7GB. Make sure you give it all the permissions that it asks for.
Step 4
Once Windows is done installing, you are ready to go. All that’s left to do is install Star Voyager like you would on any PC.
Did it work?
Help us improve our guide by letting us know if it worked for you.
👎👍