How to play Marvel Super Heroes in War of the Gems on Mac
Game summary
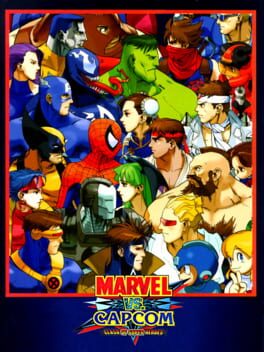
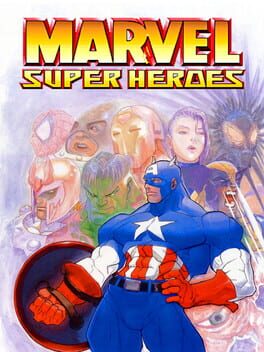
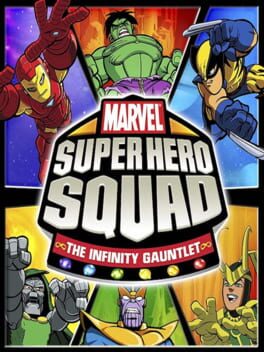
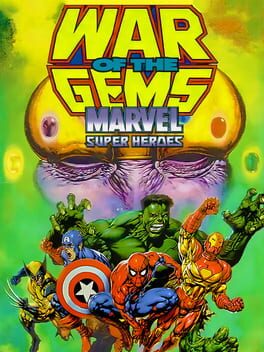
The most powerful collection of MARVEL SUPER HEROES now unite to battle treacherous mobs of Super-Villians! A mysterious foe has kicked off his plan to rule the world by collecting the Infinity Gems. While each gem controls one force of nature, combined they command limitless power.
The fate of the entire world depends on your ability to defeat this sinister scheme before the gems are combined. Master the brute strength of your favorite hero to take on this life and death challenge. You choose the hero best suited to each mission and control all the action, like breaking barriers with the Incredible Hulk or tackling challenges with Spider-Man's webs and climbing ability.
It's an incredible action-adventure demanding skill, cunning and reflexes to defeat a diabolical plot and the most amazing assortment of corrupt Super-Villains ever assembled.
First released: Nov 1996
Play Marvel Super Heroes in War of the Gems on Mac with Parallels (virtualized)
The easiest way to play Marvel Super Heroes in War of the Gems on a Mac is through Parallels, which allows you to virtualize a Windows machine on Macs. The setup is very easy and it works for Apple Silicon Macs as well as for older Intel-based Macs.
Parallels supports the latest version of DirectX and OpenGL, allowing you to play the latest PC games on any Mac. The latest version of DirectX is up to 20% faster.
Our favorite feature of Parallels Desktop is that when you turn off your virtual machine, all the unused disk space gets returned to your main OS, thus minimizing resource waste (which used to be a problem with virtualization).
Marvel Super Heroes in War of the Gems installation steps for Mac
Step 1
Go to Parallels.com and download the latest version of the software.
Step 2
Follow the installation process and make sure you allow Parallels in your Mac’s security preferences (it will prompt you to do so).
Step 3
When prompted, download and install Windows 10. The download is around 5.7GB. Make sure you give it all the permissions that it asks for.
Step 4
Once Windows is done installing, you are ready to go. All that’s left to do is install Marvel Super Heroes in War of the Gems like you would on any PC.
Did it work?
Help us improve our guide by letting us know if it worked for you.
👎👍