How to play A Wizard's Lizard on Mac

| Platforms | Computer |
Game summary
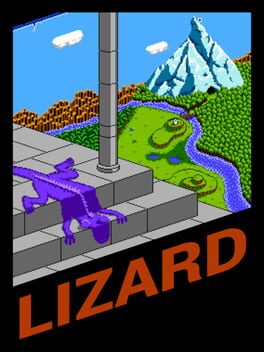
A Wizard's Lizard is an ever-changing medieval fantasy hack 'n slash game from independent game developers, Lost Decade Games.
Conquer the forces of Death in A Wizard’s Lizard, an action RPG for Windows, Mac and Linux. Explore ever-changing dungeons, filled with valuable treasure and powerful items, while battling back the hordes of evil. Rescue townsfolk to improve your town and aid your next trek into the dungeon.
You'll die constantly, and painfully in the heat of battle. However you'll want to use Death as a mechanism for complete and full exploration of each unique dungeon as your character enters the Realm of the Dead. Herein, you'll find additional loot and continue your quest as you fight stronger monsters, quite a few of which were killed by your living counterpart.
Look for Townfolk, Chests, exotic Weapons and glorious Treasure, both as alive or dead, and fight Monsters for glory as a wizard or a lizard.
First released: Jan 2014
Play A Wizard's Lizard on Mac with Parallels (virtualized)
The easiest way to play A Wizard's Lizard on a Mac is through Parallels, which allows you to virtualize a Windows machine on Macs. The setup is very easy and it works for Apple Silicon Macs as well as for older Intel-based Macs.
Parallels supports the latest version of DirectX and OpenGL, allowing you to play the latest PC games on any Mac. The latest version of DirectX is up to 20% faster.
Our favorite feature of Parallels Desktop is that when you turn off your virtual machine, all the unused disk space gets returned to your main OS, thus minimizing resource waste (which used to be a problem with virtualization).
A Wizard's Lizard installation steps for Mac
Step 1
Go to Parallels.com and download the latest version of the software.
Step 2
Follow the installation process and make sure you allow Parallels in your Mac’s security preferences (it will prompt you to do so).
Step 3
When prompted, download and install Windows 10. The download is around 5.7GB. Make sure you give it all the permissions that it asks for.
Step 4
Once Windows is done installing, you are ready to go. All that’s left to do is install A Wizard's Lizard like you would on any PC.
Did it work?
Help us improve our guide by letting us know if it worked for you.
👎👍