How to play Nanobots on Mac
| Platforms | Computer |
Game summary
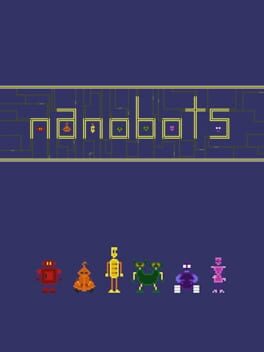
Groovy Greg set out to build robots that could love. Instead, he got the nanobots. Although the bots were designed to solve problems as a team, all their trial runs seem to end with the sound of tiny metallic fists meeting tiny metallic torsos. It’s enough to make even the most laid-back hippie want to tear out his dreadlocks. Now, with the evil Professor Killfun threatening to give him a failing grade, Groovy Greg has almost given up on his experiment. Little does he know that his beloved bots are about to meet an even bigger challenge than they had been programmed for... Nanobots is a classic-style point and click adventure game that lets you take control of Hotbot, Brainbot, Tallbot, Audbot, Strongbot, and Chembot as they race to save themselves from being turned into scrap metal. Can they make use of their surroundings, fashion an escape plan, and avoid coming face-to-fist with Professor Killfun? Only if they give peace a chance.
First released: Jun 2008
Play Nanobots on Mac with Parallels (virtualized)
The easiest way to play Nanobots on a Mac is through Parallels, which allows you to virtualize a Windows machine on Macs. The setup is very easy and it works for Apple Silicon Macs as well as for older Intel-based Macs.
Parallels supports the latest version of DirectX and OpenGL, allowing you to play the latest PC games on any Mac. The latest version of DirectX is up to 20% faster.
Our favorite feature of Parallels Desktop is that when you turn off your virtual machine, all the unused disk space gets returned to your main OS, thus minimizing resource waste (which used to be a problem with virtualization).
Nanobots installation steps for Mac
Step 1
Go to Parallels.com and download the latest version of the software.
Step 2
Follow the installation process and make sure you allow Parallels in your Mac’s security preferences (it will prompt you to do so).
Step 3
When prompted, download and install Windows 10. The download is around 5.7GB. Make sure you give it all the permissions that it asks for.
Step 4
Once Windows is done installing, you are ready to go. All that’s left to do is install Nanobots like you would on any PC.
Did it work?
Help us improve our guide by letting us know if it worked for you.
👎👍