How to play Dead Zone on Mac

Game summary
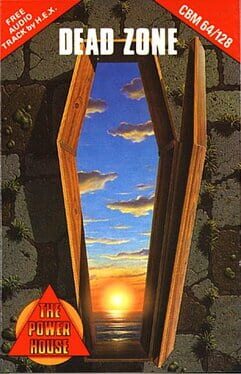
In the space calendar 0385, the Earth suffers from overpopulation and humans started to build space colonies. Kirk, the protagonist of Dead Zone, works for the Earth federation's space development office. He is a brilliant engineer in space physics and he is working for Sirius third planet colony. He also got engaged with his beloved girlfriend Marry, but they had to postpone their wedding. Five months later, Kirk, accompanied with his robot Carry, decides to meet Marry at last, and prepare the ceremony. But when he arrives at the space station, everything is quiet. Then a beam of light hits him. He wakes up sometimes later, inside a sort of underground graveyard, pieces of dismantled robots surrounding him.
The player proceeds through the game by choosing from a selection of text menu commands. Like any traditional digital comic/text adventure games, a large view shows the surroundings. The bottom of the screen proposes simple action commands, like see, take or push; however, the game is entirely in Japanese (although it uses katakana exclusively). One of the original features of the game is to use real sampled sound in some places, which is very unusual for the time.
First released: Nov 1986
Play Dead Zone on Mac with Parallels (virtualized)
The easiest way to play Dead Zone on a Mac is through Parallels, which allows you to virtualize a Windows machine on Macs. The setup is very easy and it works for Apple Silicon Macs as well as for older Intel-based Macs.
Parallels supports the latest version of DirectX and OpenGL, allowing you to play the latest PC games on any Mac. The latest version of DirectX is up to 20% faster.
Our favorite feature of Parallels Desktop is that when you turn off your virtual machine, all the unused disk space gets returned to your main OS, thus minimizing resource waste (which used to be a problem with virtualization).
Dead Zone installation steps for Mac
Step 1
Go to Parallels.com and download the latest version of the software.
Step 2
Follow the installation process and make sure you allow Parallels in your Mac’s security preferences (it will prompt you to do so).
Step 3
When prompted, download and install Windows 10. The download is around 5.7GB. Make sure you give it all the permissions that it asks for.
Step 4
Once Windows is done installing, you are ready to go. All that’s left to do is install Dead Zone like you would on any PC.
Did it work?
Help us improve our guide by letting us know if it worked for you.
👎👍