How to play Bass Landing on Mac

Game summary
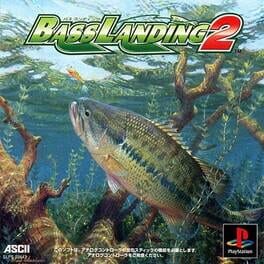
Designed for the armchair angler in mind, Bass Landing captures the essence of being on an actual lake and boat without the hassle of reaching into your tackle box and pulling back a handful of slime! There are five different lakes in all, ranging from the murky Lunker Lake to the mountainous clarity of Crystal Lake. Each contains natural and manmade hazards (branches, poles, rocks) and different kind of fish--depending on the kind of fish you want, choose your lake accordingly.
For instance, the Silver Carp can only be found in dark, murky lakes or swamps and the Spotted Bass resides in the chilly, colder water areas. While the name of the game is bass, there are 14 different types of fish including the small but feisty Blue Gill, massively dynamic Carp, and the multiplying Rainbow Trout.
In addition to his or her game, the armchair fisherman will need to know how his fishing rod works and what lures to use on the various fish. There are fifty different tools in all ranging from Spinner Bait to the MHB-665 Bait Rod--one will want to know the functions of each lure and rig and choose an appropriate rod for the type of fish being hunted.
First released: Oct 2000
Play Bass Landing on Mac with Parallels (virtualized)
The easiest way to play Bass Landing on a Mac is through Parallels, which allows you to virtualize a Windows machine on Macs. The setup is very easy and it works for Apple Silicon Macs as well as for older Intel-based Macs.
Parallels supports the latest version of DirectX and OpenGL, allowing you to play the latest PC games on any Mac. The latest version of DirectX is up to 20% faster.
Our favorite feature of Parallels Desktop is that when you turn off your virtual machine, all the unused disk space gets returned to your main OS, thus minimizing resource waste (which used to be a problem with virtualization).
Bass Landing installation steps for Mac
Step 1
Go to Parallels.com and download the latest version of the software.
Step 2
Follow the installation process and make sure you allow Parallels in your Mac’s security preferences (it will prompt you to do so).
Step 3
When prompted, download and install Windows 10. The download is around 5.7GB. Make sure you give it all the permissions that it asks for.
Step 4
Once Windows is done installing, you are ready to go. All that’s left to do is install Bass Landing like you would on any PC.
Did it work?
Help us improve our guide by letting us know if it worked for you.
👎👍