How to play WolfQuest on Mac

| Platforms | Computer |
Game summary
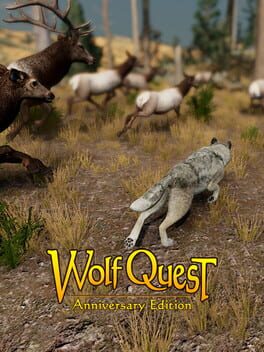
LIVE THE LIFE OF A WILD WOLF! WolfQuest is a wildlife simulation game about wolf ecology. Playing as a two-year-old gray wolf in Yellowstone National Park, you'll learn how to live on your own, finding food, meeting other wolves, and searching for a mate. Ultimately, your goal is to find a home and raise your own family.
Your quest begins on the slopes of Amethyst Mountain and eventually takes you across the Lamar Valley to Slough Creek. There, you and your mate will establish a territory and raise a litter of pups: training them, feeding them, defending them against predators, and finally taking them on a cross-country journey to a summer home. Ultimately, your success will depend on your ability to ensure the survival of your pack.
Play the game alone or with friends in on-line multiplayer missions, which now feature the complete pup-raising mission arc. Private multiplayer games feature text and voice chat. Both private and public games have phrase chat.
First released: Mar 2016
Play WolfQuest on Mac with Parallels (virtualized)
The easiest way to play WolfQuest on a Mac is through Parallels, which allows you to virtualize a Windows machine on Macs. The setup is very easy and it works for Apple Silicon Macs as well as for older Intel-based Macs.
Parallels supports the latest version of DirectX and OpenGL, allowing you to play the latest PC games on any Mac. The latest version of DirectX is up to 20% faster.
Our favorite feature of Parallels Desktop is that when you turn off your virtual machine, all the unused disk space gets returned to your main OS, thus minimizing resource waste (which used to be a problem with virtualization).
WolfQuest installation steps for Mac
Step 1
Go to Parallels.com and download the latest version of the software.
Step 2
Follow the installation process and make sure you allow Parallels in your Mac’s security preferences (it will prompt you to do so).
Step 3
When prompted, download and install Windows 10. The download is around 5.7GB. Make sure you give it all the permissions that it asks for.
Step 4
Once Windows is done installing, you are ready to go. All that’s left to do is install WolfQuest like you would on any PC.
Did it work?
Help us improve our guide by letting us know if it worked for you.
👎👍