How to play Jetpac on Mac
Game summary
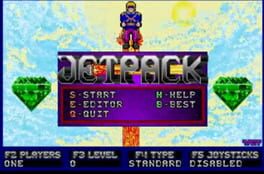
Jetpack is a platform game available as freeware, originally published as shareware by Software Creations in 1993. The object of the levels is to collect all of the green emeralds scattered around the level while avoiding obstacles and enemies. Once accomplished, a door opens which the player must go through in order to advance to the next level. There is a single player, and a local multiplayer mode. The multiplayer mode supports up to eight players, where players take turns on the same machine.
The player is aided in his quest by a jetpack and a phase shifter, which allows tunnelling through certain walls. The environments, which usually consist of mazes of bricks, also feature vines, gold, ladders, ice, boxes, pillars, and conveyor belts. Other obstacles include jagged rocks, force fields, teleport pads, and indestructible bricks. In order to keep his jetpack running, the player has to collect fuel, by means of single/double tanks or fuel grids.
The game includes a simple level editor. Numerous levels have been published on Adept Software's website. The registered game features 100 pre-built levels. The developers also released a hintbook containing screenshots and a short piece of advice for every level.
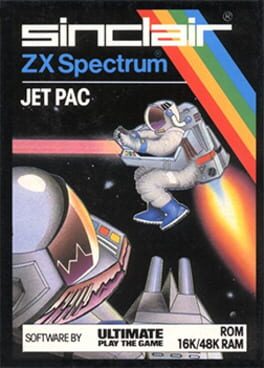
First released: May 1983
Play Jetpac on Mac with Parallels (virtualized)
The easiest way to play Jetpac on a Mac is through Parallels, which allows you to virtualize a Windows machine on Macs. The setup is very easy and it works for Apple Silicon Macs as well as for older Intel-based Macs.
Parallels supports the latest version of DirectX and OpenGL, allowing you to play the latest PC games on any Mac. The latest version of DirectX is up to 20% faster.
Our favorite feature of Parallels Desktop is that when you turn off your virtual machine, all the unused disk space gets returned to your main OS, thus minimizing resource waste (which used to be a problem with virtualization).
Jetpac installation steps for Mac
Step 1
Go to Parallels.com and download the latest version of the software.
Step 2
Follow the installation process and make sure you allow Parallels in your Mac’s security preferences (it will prompt you to do so).
Step 3
When prompted, download and install Windows 10. The download is around 5.7GB. Make sure you give it all the permissions that it asks for.
Step 4
Once Windows is done installing, you are ready to go. All that’s left to do is install Jetpac like you would on any PC.
Did it work?
Help us improve our guide by letting us know if it worked for you.
👎👍