How to play Dwelvers on Mac

| Platforms | Computer |
Game summary
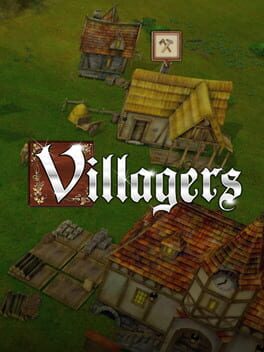
Dwelvers is a real time strategy game where The player takes the role of an evil Dungeon Lord who guide its minions through building their own dungeon, below and above the surface. Manage elaborate production chains, cater to the needs and quirks of each monster and lead them to battles against other monsters and pathetic humans.
The most challenging part for the player will be creating an advanced production system so as to have enough food to keep the creatures well fed, enough weapons and armour to outfit their army as a force to be reckoned with, and of course enough beer to keep them satisfied with you as their master. A drunk minion is a happy minion! The theme of the game will have a lot of dark humour, and each creature will have its own personality, demands and fighting style; forcing the player to handle all the creatures in different ways in order to max out their potential. A happy minion is a useful minion.
First released: Aug 2014
Play Dwelvers on Mac with Parallels (virtualized)
The easiest way to play Dwelvers on a Mac is through Parallels, which allows you to virtualize a Windows machine on Macs. The setup is very easy and it works for Apple Silicon Macs as well as for older Intel-based Macs.
Parallels supports the latest version of DirectX and OpenGL, allowing you to play the latest PC games on any Mac. The latest version of DirectX is up to 20% faster.
Our favorite feature of Parallels Desktop is that when you turn off your virtual machine, all the unused disk space gets returned to your main OS, thus minimizing resource waste (which used to be a problem with virtualization).
Dwelvers installation steps for Mac
Step 1
Go to Parallels.com and download the latest version of the software.
Step 2
Follow the installation process and make sure you allow Parallels in your Mac’s security preferences (it will prompt you to do so).
Step 3
When prompted, download and install Windows 10. The download is around 5.7GB. Make sure you give it all the permissions that it asks for.
Step 4
Once Windows is done installing, you are ready to go. All that’s left to do is install Dwelvers like you would on any PC.
Did it work?
Help us improve our guide by letting us know if it worked for you.
👎👍