How to play Wrestle War on Mac

Game summary
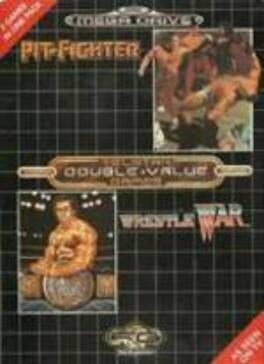
Wrestle War is the name of a video game which was released in the arcades in 1989, and for the Sega Mega Drive/Genesis console in 1991 in Japan, Australia, and Europe only. and was published and developed by Sega. Despite being released the same year as the National Wrestling Alliance/World Championship Wrestling's WrestleWar pay-per-view, it is not associated with any wrestling promotion. The original Japanese game cover featured a Hulk Hogan look-alike, with a bandana that spelled "Hogan". It was changed for the European and US releases for royalties reasons. It did not change the wrestlers faces though, which still are similar to those of real wrestling stars of the time.
Wrestle War has also been released as part of the Sega Smash Pack
The player takes control of Bruce Blade, a rookie wrestler, through a series of matches to win the Sega Wrestling Alliance championship belt by facing the following wrestlers, each possessing their unique wrestling moves:
Mohawk Kid
Sledge Hammer (based on Bruiser Brody)
Mr. J (based on Jason the Terrible)
Don Dambuster (based on Road Warrior Hawk)
Nim Rod Falcon (based on Mil Mascaras)
Titan Morgan (based on Hulk Hogan)
Buckskin Rogers (based on Stan Hansen)
Grand Kong (based on Abdullah the Butcher)
First released: Dec 1989
Play Wrestle War on Mac with Parallels (virtualized)
The easiest way to play Wrestle War on a Mac is through Parallels, which allows you to virtualize a Windows machine on Macs. The setup is very easy and it works for Apple Silicon Macs as well as for older Intel-based Macs.
Parallels supports the latest version of DirectX and OpenGL, allowing you to play the latest PC games on any Mac. The latest version of DirectX is up to 20% faster.
Our favorite feature of Parallels Desktop is that when you turn off your virtual machine, all the unused disk space gets returned to your main OS, thus minimizing resource waste (which used to be a problem with virtualization).
Wrestle War installation steps for Mac
Step 1
Go to Parallels.com and download the latest version of the software.
Step 2
Follow the installation process and make sure you allow Parallels in your Mac’s security preferences (it will prompt you to do so).
Step 3
When prompted, download and install Windows 10. The download is around 5.7GB. Make sure you give it all the permissions that it asks for.
Step 4
Once Windows is done installing, you are ready to go. All that’s left to do is install Wrestle War like you would on any PC.
Did it work?
Help us improve our guide by letting us know if it worked for you.
👎👍